
 Tiếng Việt
 English
 简体中文
简体中文


Today, our feeds are a chaotic mess of “recommended” content, clickbait, and ads, all driven by opaque algorithms designed to keep us scrolling, not informed.
What if I told you there’s a way to escape this madness? To build your own private, clean, and chronological news hub that puts you back in complete control? That’s the magic of self-hosting an RSS server.
We’ll walk you through choosing the right tool and then provide a detailed, step-by-step tutorial for setting up FreshRSS a fantastic, modern option using the incredibly simple Docker method. Let’s build your perfect reading sanctuary together.
1. How to Pick Your Perfect RSS Reader
Before we get our hands dirty, let’s talk about why this is such a game-changer and meet the top contenders for your new information headquarters.
1.1. The Big Wins: Privacy, Permanence and an Algorithm-Free Oasis
You Own Your Data: Your reading habits are your business, period. By self-hosting, no company is tracking what you read to sell you ads.
It’s Forever: Remember when a beloved service shut down overnight? That can’t happen here. This is your server, and it’s not going anywhere unless you say so.
A Pure, Chronological Feed: See the latest articles from the sites you love, in the order they were published. No ads, no “engagement-bait,” just the content you chose.
Read Anywhere, Sync Everywhere: Start an article on your laptop, finish it on your phone on the bus. Your reading position is synced across all your devices.

1.2. Meet the Contenders: Today’s Best Self-Hosted RSS Readers
Here’s a quick look at the most popular choices out there.
FreshRSS: This is our champion for a reason. It has a beautiful, clean interface, is actively developed, uses very few server resources, and works flawlessly with a host of brilliant third-party mobile apps. It’s the perfect balance of power and simplicity.
Tiny Tiny RSS: A long-time favorite in the self-hosting community, TTRSS is incredibly powerful and customizable. If you love to tinker and want endless options, this might be for you, but be prepared for a slightly more complex setup.
Nextcloud News: If you’re already using Nextcloud to host your own files and calendars, this is a no-brainer. It integrates beautifully into an existing Nextcloud setup.
For this guide, we’re sticking with FreshRSS. It hits the sweet spot of being easy enough for a first-timer but powerful enough that you’ll never outgrow it.
2. The Easy Way: Installing FreshRSS with Docker
This is where the fun begins! We’ll use Docker and Docker Compose, which sounds technical but is basically a way to install and manage software using a simple recipe file. It’s clean, reliable, and makes updates a breeze.
2.1. Your Toolkit: What You’ll Need to Get Started
A Server: To get started, you’ll need a reliable server. While options exist from global providers, choosing a local or regional one like VinaHost can offer better latency and support. A cheap Cloud VPS is the perfect starting point for a personal RSS server
Why Server Location Matters for Your News Hub
You might think, “It’s just text, does location really matter?” The answer is a resounding yes. The physical location of your server directly impacts the speed and responsiveness of your reading experience. Every time your phone syncs or you open the web app, it’s communicating with your server. Lower latency means a snappier, more enjoyable experience.
When choosing your VPS, consider where you’ll be reading from most often:
For users across Southeast Asia: If you want lightning-fast syncs whether you’re in Kuala Lumpur, Bangkok, or Ho Chi Minh City, placing your server in a major regional hub is a smart move. A high-performance VPS in Malaysia offers excellent connectivity throughout the entire ASEAN region.
For a focused, local experience: If your primary access will be from within a specific country, nothing beats a local server. For instance, a stable VPS in Laos will provide the absolute lowest latency for users there, ensuring your news is always just a tap away.
Docker and Docker Compose: These are our magic wands. They do all the heavy lifting for us. Installing them is straightforward; just follow the official guides for your server’s operating system (VD: Install Docker on Ubuntu).

Step 1: The Magic Recipe
Create a new folder for your project, go into it, and create a file named docker-compose.yml. Paste the following text inside:
version: '3'

services:
  freshrss:
    image: freshrss/freshrss
    container_name: freshrss
    ports:
      - "8080:80"
    volumes:
      - ./data:/var/www/FreshRSS/data
    restart: unless-stopped
Let’s quickly break down this recipe in plain English:
image: freshrss/freshrss: Go get the official, trusted software package for FreshRSS.
ports: – “8080:80”: Connect the outside world’s port 8080 on my server to the application’s internal front door (port 80).
volumes: – ./data:/…: This is the most important line! It tells Docker, “Hey, see that data folder inside the app? I want you to store all of that information right here on my server in a folder called data. That way, all my feeds and articles are safe even if I update the app.”
restart: unless-stopped: “This is a lifesaver. If my server ever reboots, please automatically start this application back up for me.”
Step 2: Fire It Up
Now for the magic. In your terminal, in the same folder as your docker-compose.yml file, run this one simple command:
docker-compose up -dThat’s it! Docker will now download the image and start your FreshRSS server in the background.
Step 3: The Friendly Setup Wizard
Open your web browser and go to http://your_server_ip:8080. You’ll be greeted by the FreshRSS setup wizard.
Choose your language.
For the database, just select SQLite. It’s the simplest option and works perfectly for a personal setup—no extra configuration needed.
Create your main user account. Choose a username and a strong password.
Congratulations! Your personal RSS hub is now live!
3. Making It Your Own: Supercharging Your RSS Hub
Installation is done, but now it’s time to make this hub truly yours.
3.1. Filling Your Library: Adding Feeds & Getting Organized
On most websites or blogs, look for the little RSS icon. Right-click it and copy the link address. In FreshRSS, click the green “+” button, paste the link, and add it to a category like “Tech,” “News,” or “Hobbies” to keep things tidy.

3.2. Take It To Go: Syncing with Mobile Apps
The real power of a personal server is having your news on your phone. FreshRSS has a built-in API that works with tons of great apps.
Get an App: For iOS, Reeder 5 or NetNewsWire are fantastic. For Android, FeedMe is a popular choice.
Find Your Credentials: In FreshRSS, go to Settings -> Authentication. Check “Allow API access” and create a password for your API.
Connect: In your mobile app, choose to add an account. Select “FreshRSS” or a “Fever API” compatible service. Enter your server address (http://your_server_ip:8080/api/greader.php), your username, and the API password you just created.
3.3. The Professional Touch: Adding a Domain and HTTPS
For a more secure and professional setup, you can use a reverse proxy. This sounds complex, but a tool like Nginx Proxy Manager makes it easy. The basic steps are:
Point a domain name to your server’s IP address.
Set up Nginx Proxy Manager to act as a “receptionist,” directing traffic from myrss.com to your FreshRSS container.
Use its simple interface to get a free SSL certificate from Let’s Encrypt, giving you that secure https:// lock icon.
4. Keeping It Healthy: Simple Updates and Backups
One of the best parts of using Docker is how simple maintenance is.
4.1. How to Update FreshRSS
When a new version of FreshRSS comes out, just run these two commands in your project folder:
docker-compose pull       # Fetches the latest version of the app
docker-compose up -d      # Restarts the container with the new version
Done. You’re updated. It’s that easy.
4.2. Peace of Mind: Backing Up Your Data
Remember that data folder we created in Step 1? That’s your treasure chest. It contains all your feeds, settings, and saved articles. To back everything up, To back everything up, you just need to copy that single folder to a safe place. For total peace of mind, consider an automated cloud backup solution that protects your data without any manual effort
Conclusion: Welcome to Your Information Sanctuary
You’ve successfully built a private, ad-free, and permanent home for all the content you care about. No more algorithms, no more privacy invasions. You are now the master of your information domain.
The FreshRSS instance you’ve just built is the perfect sanctuary for one. But what if your needs grow? Imagine providing a curated, private news dashboard for your entire company, a media monitoring service for your clients, or a real-time information hub for a large community.
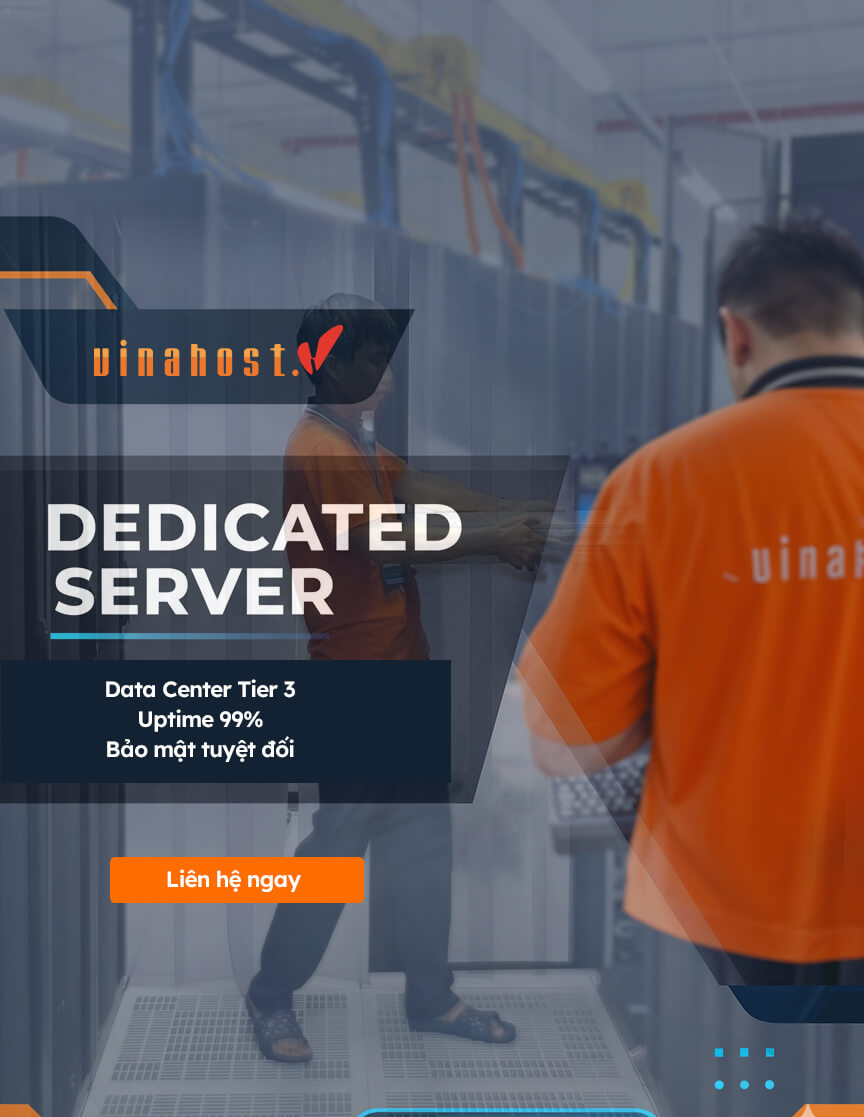
When you’re serving dozens or hundreds of users and pulling from thousands of feeds every few minutes, the demands on your server’s CPU and disk I/O increase exponentially. This is where a Virtual Private Server may reach its limits. The solution is a dedicated server—an entire physical machine reserved exclusively for you.
For businesses in Malaysia needing to provide a high-availability intelligence platform for their teams, a powerful dedicated server in Malaysia guarantees the performance needed to handle heavy, concurrent loads without skipping a beat.
Similarly, for a news agency, NGO, or government body in Laos, a reliable dedicated server in Laos provides the robust, single-tenant infrastructure required for mission-critical information delivery.
Now go on, start exploring, add your favorite sites, and rediscover the joy of a calm, curated reading experience. Happy reading

Hello, I am Le Van, I believe that a successful website is the perfect combination of smart SEO strategy and a solid hosting infrastructure. Through the articles on the blog, I hope to share practical knowledge, detailed and easy-to-apply instructions, helping you not only improve your ranking on Google but also enhance the user experience effectively.


