Does your team’s monthly cloud storage bill feel like it’s in a constant state of rising. You’re not alone. The subscription-based model of public clouds can be a constant drain on resources, offering little flexibility in return. It’s time to take back control.
This guide will walk you through building exactly that. We’ll show you how to set up a professional, feature-packed private cloud using the incredible open-source platform Nextcloud, all powered by the simple and modern Docker method. Let’s get started!
1. Why Go Private? The Game-Changing Advantages for Your Team
Before we dive into the “how,” let’s explore the “why.” Building your own cloud isn’t just a cool tech project; it’s a strategic business move.
1.1 Fort Knox Security & True Data Sovereignty
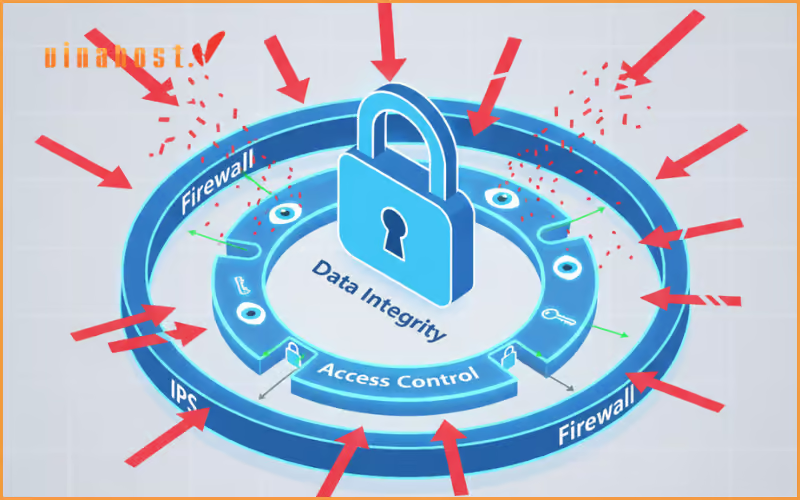
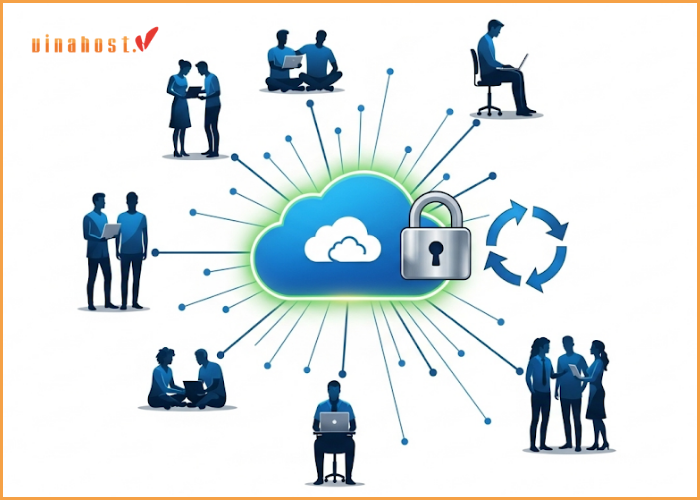
With a private cloud, your team’s most sensitive files live on a server you control. No third-party scans, no ambiguous terms of service. You decide where your data is stored, who can access it, and how it’s protected. This is what true data ownership looks like.
1.2 Say Goodbye to Per-User Subscription Fees
Contrast the endless cycle of paying per user, per month for services like Dropbox or Google Workspace. With a self-hosted solution, your primary cost is a fixed, predictable fee for a server. For the price of a few user licenses on a public cloud, you can often provide a superior service for your entire team. The long-term savings are significant.
1.3 Your Cloud, Your Rules: Full Customization
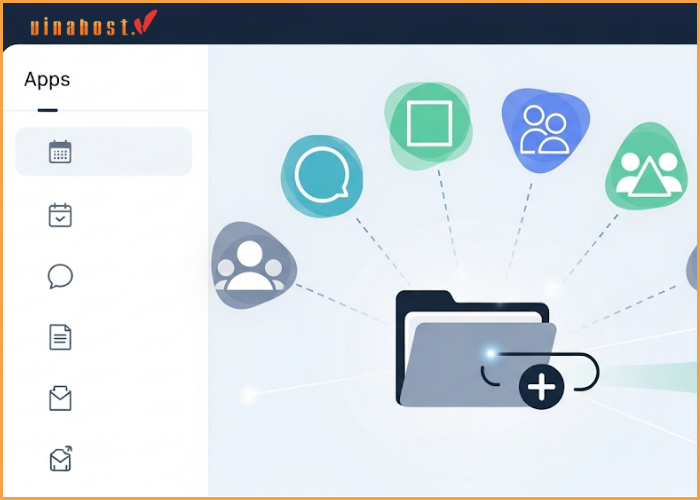
This is where a private cloud truly shines. Need real-time document editing like Google Docs? Done. Want to add shared calendars, project management boards, or even a private video conferencing tool? You can. Nextcloud has a massive app store that lets you build the exact collaboration platform your team needs.

2. The Best Software for Your Private Cloud
You have options, but one stands out as the clear winner for most teams.
2.1 The Top Contenders: Nextcloud vs. ownCloud
For years, these have been the two main players in the private cloud space. While both are excellent, they have different philosophies. ownCloud has a stronger focus on its enterprise offerings, while Nextcloud is driven by a massive, vibrant open-source community.
2.2 Our Recommendation for Most Teams: Nextcloud
For this guide, we’re going with Nextcloud, hands down. It’s completely open-source, its community is incredibly active, and it includes amazing features like Nextcloud Office for free. It’s a powerhouse platform that’s perfect for teams of any size.
3. Setting the Foundation
3.1 A Virtual Private Server (VPS): Your Cloud’s Foundation
Think of a VPS as your own private, rented server in a professional data center. It provides the perfect balance of cost, performance, and control. For a small-to-medium team, look for a plan with at least 2 vCPUs, 4GB of RAM, and 100GB of storage to start.
However, where this server is physically located is a critical strategic decision that directly impacts your team’s productivity and your company’s data sovereignty goals. Latency isn’t just a technical term; it’s the delay your team members experience every time they upload a file, sync a document, or access the web interface. Placing your cloud closer to its users is paramount.
For Regional Teams in Southeast Asia: If your team is distributed across the ASEAN region, choosing a server in a major connectivity hub is the smartest move. A high-performance VPS in Malaysia offers excellent, low-latency connections to surrounding countries, ensuring a snappy and responsive experience for everyone.
For In-Country Operations: For businesses with a primary office or significant operations within a specific nation, nothing beats a local server. Hosting on a specialized VPS in Laos, for example, guarantees the absolute fastest performance for your local team and ensures your data resides within national borders, a key aspect of data sovereignty.
Choosing the right location transforms your server from a simple utility into a competitive advantage.

3.2 A Domain Name
For a professional team setup, this isn’t optional—it’s essential. You can register a domain from many registrars, and often your web hosting provider will offer domain registration services as well, making it convenient to manage everything in one place.
3.3 Docker and Docker Compose
Docker is a fantastic tool that packages applications into clean, isolated “containers.” Think of it as putting each part of your setup into its own perfect little box. This makes installation, updates, and management incredibly simple and reliable. Just follow the official guides to install Docker on your server.
4. Your Step-by-Step Nextcloud Installation
This is where it all comes together. Follow these steps, and you’ll have your cloud running in minutes.
4.1 Point Your Domain to Your Server
Log in to wherever you bought your domain name. Go to the DNS settings and create a new ‘A’ record.
Host/Name: Enter your chosen subdomain
Value/Points to: Enter your server’s public IP address.
4.2 Create the Magic Recipe
On your server, create a folder for your project. Inside that folder, create a file named docker-compose.yml and paste the following code into it.
version: '3'

services:
  app:
    image: nextcloud
    container_name: nextcloud_app
    restart: unless-stopped
    ports:
      - "8080:80"
    volumes:
      - nextcloud_files:/var/www/html
      - ./config:/var/www/html/config
      - ./apps:/var/www/html/apps
    environment:
      - MYSQL_HOST=db
      - MYSQL_DATABASE=nextcloud
      - MYSQL_USER=nextcloud
      - MYSQL_PASSWORD=YOUR_STRONG_DATABASE_PASSWORD # Change this!

  db:
    image: mariadb:10.5
    container_name: nextcloud_db
    restart: unless-stopped
    command: --transaction-isolation=READ-COMMITTED --binlog-format=ROW
    volumes:
      - db_data:/var/lib/mysql
    environment:
      - MYSQL_ROOT_PASSWORD=YOUR_STRONG_ROOT_PASSWORD # Change this too!
      - MYSQL_DATABASE=nextcloud
      - MYSQL_USER=nextcloud
      - MYSQL_PASSWORD=YOUR_STRONG_DATABASE_PASSWORD # Use the same one as above

volumes:
  nextcloud_files:
  db_data:
What does this do?
The app service: This is the main Nextcloud application.
The db service: This is the database—the brain that remembers all your users, file shares, and settings.
The volumes: This is the most critical part. It tells Docker to store your team’s actual files and the database data safely on the server, completely separate from the application itself. Your data is always safe, even during updates.
4.3 Launch Your Cloud!
In your terminal, from inside your project folder, run this one command:
docker-compose up -dThat’s it! Docker will now download everything it needs and start your private cloud in the background.
4.4 The Final Setup Wizard
Open your web browser and navigate to http://your_server_ip:8080. You’ll see the Nextcloud setup screen.
Create your administrator account.
Expand the “Storage & database” section.
Select MySQL/MariaDB.
Fill in the database details exactly as you defined them in the docker-compose.yml file. The “Database host” will be db.
Click: Finish setup
Congratulations! Your private cloud is officially online!
5. Power-Ups for Your Team
Now let’s turn this from a file storage box into a true collaboration hub.
5.1 Onboard Your Team: Creating User Accounts
As the admin, click your profile icon in the top right and go to “Users.” Here, you can easily create an account for every member of your team, setting their name, password, and storage quota.
5.2 Create Shared Spaces with Group Folders
Go to “Apps” and install the Group Folders app. This allows you to create shared folders and assign access to specific user groups. It’s a clean, organized way to collaborate without messy individual sharing links.
5.3 Unleash Real-Time Collaboration with Nextcloud Office
In the “Apps” section, find and enable Nextcloud Office. Just like that, your team can now create and co-edit documents, spreadsheets, and presentations right inside the browser—no extra software needed. It’s your own private Google Docs.
6. Connecting Your Devices
The magic of a cloud is seamless access.
6.1 The Desktop Sync Client
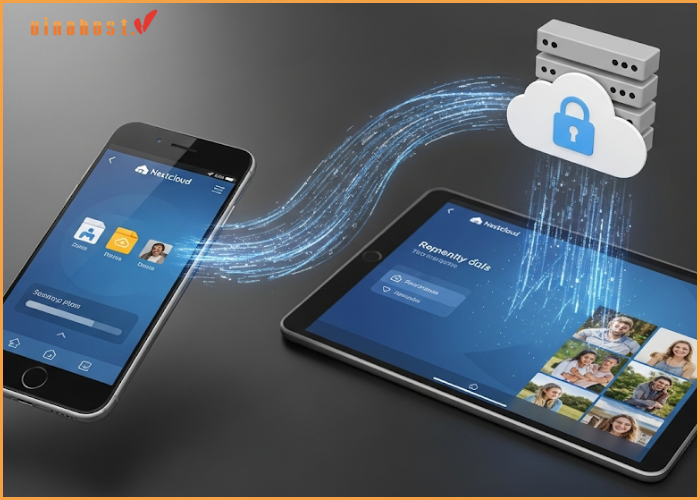
Have your team download the Nextcloud desktop client for Windows, Mac, or Linux. They’ll log in with your domain and their user credentials, and a folder on their computer will start syncing perfectly with the cloud, just like they’re used to with Dropbox.
6.2 Access on the Go: The Mobile App
The official Nextcloud mobile apps for iOS and Android are excellent. Your team can access files, share links, and even use the fantastic “auto-upload” feature to automatically back up photos from their phones to their private cloud.
Conclusion: You Built It. You Own It.
Take a moment to appreciate what you’ve just created. It’s more than just file storage; it’s a secure, private, and powerful collaboration environment built by you, for your team. By choosing to self-host, you’ve taken a significant step towards data sovereignty.
Scaling for Growth: When to Upgrade to a Dedicated Server
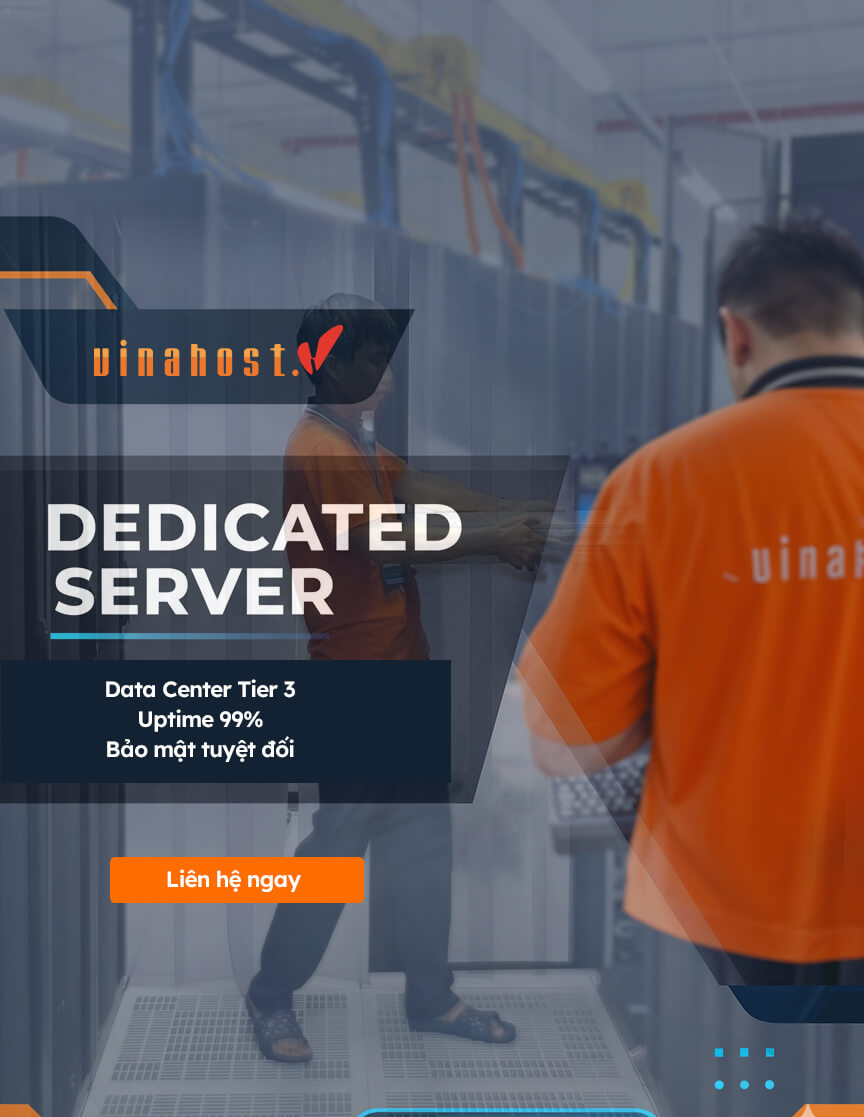
Your Nextcloud on a VPS is the perfect foundation. But as your team grows from 10 users to 50, or your data scales from gigabytes to terabytes, you’ll need a platform with uncompromised power. When you require guaranteed resources, maximum disk I/O for handling large files, and a single-tenant environment for ultimate security and compliance, it’s time to upgrade to a dedicated server.
A dedicated server is the ultimate asset for a growing business—an entire physical machine devoted to your operations.
For enterprises in Malaysia that need to support hundreds of users or run resource-intensive apps alongside their cloud, an enterprise-grade dedicated server in Malaysia provides the raw power and stability for mission-critical collaboration.
Similarly, for organizations in Laos with strict data residency requirements or the need for a highly secure, isolated environment, a robust dedicated server in Laos is the definitive solution for achieving true operational sovereignty.
And when your team grows, remember that partnering with a reliable server provider is key to scaling your private cloud smoothly
Now, the real fun begins. Dive into the Nextcloud app store and discover all the other amazing tools you can add to your new digital headquarters. Welcome to the world of true cloud ownership.
 Tiếng Việt
 English
 简体中文
简体中文


