Whenever you open your laptop, phone, or tablet to connect to a wireless network, you’re greeted with a list of names like “CoffeeShop_FreeWiFi”, “The Daily Grind” or “The Batcave”. Each one of those names is an SSID.
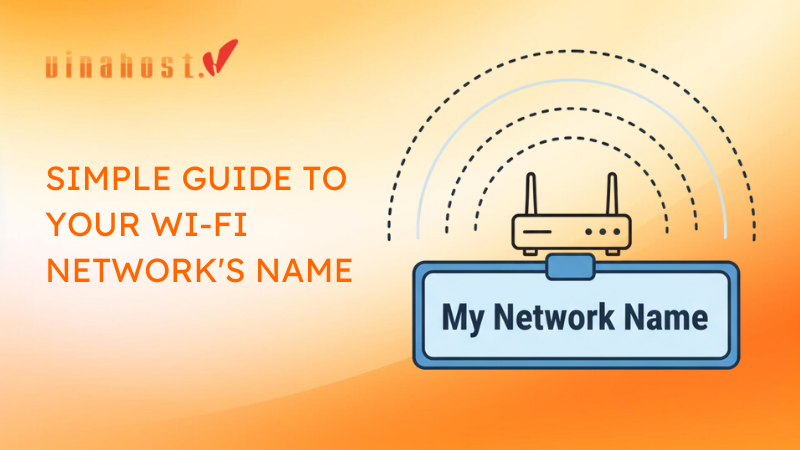
In the simplest terms, an SSID, which stands for Service Set Identifier, is the public name of a Wi – Fi network. It’s the human – readable label that distinguishes one wireless network from another in the same area.
The best way to understand it is with an analogy. Think of the SSID as the name of a coffee shop. When you open your laptop looking for a place to work, you see a list of available ‘shops’ – that list is a list of SSIDs. You choose the one you want to enter, like “The Daily Grind”. The password, then, is the special key you need to get inside and actually use their services.
While the term sounds technical, the concept is straightforward. This guide will break down exactly what an SSID is, clarify the crucial difference between it and your password, show you how to find and change it, and provide essential, expert – backed tips for keeping your Wi-Fi network secure.
1. SSID vs Password: What is the Difference?
This is one of the most common points of confusion for Wi-Fi users, so let’s clear it up right away. The SSID and the password are two completely different but related components of your network’s security.
The SSID (The Public Name): This is the public identifier for your network. It’s designed to be seen by anyone within range of your router’s signal. Its job is to tell you, “Hey, this network is here!” You can’t connect to a network if you can’t see its name in your list.
The Password (The Private Key): This is the secret, encrypted key that grants a device access to the network. After you select an SSID, your device will prompt you for this key. If you don’t have it, you can’t get in
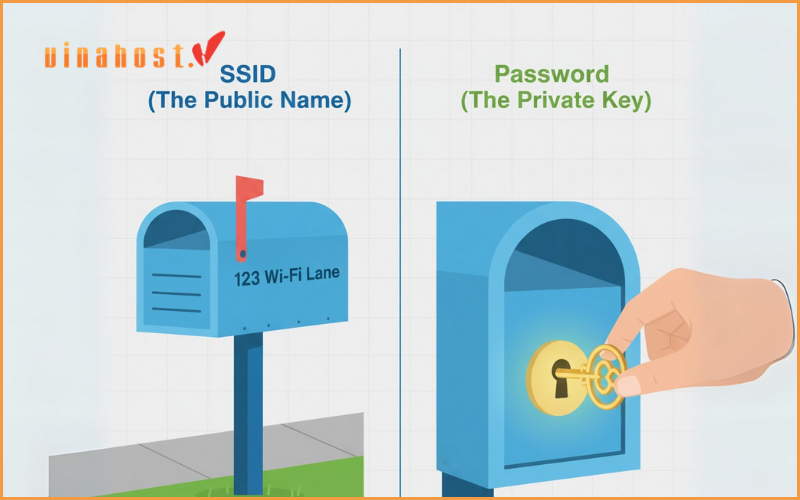
Let’s go back to our coffee shop analogy:
| Feature | SSID (Service Set Identifier) | Password (Security Key) |
| Analogy | The name on the front of the shop | The key to the locked front door |
| Purpose | To identify the network | To secure the network |
| Visibility | Public | Private |
| Function | Lets you find the network | Lets you access the network |
The key takeaway is this: knowing the name of a network does not give you access to it. The SSID is for identification, while the password is for authentication and security.
2. How to Find Your SSID
Most of the time, you’ll find an SSID simply by looking at the list of available Wi-Fi networks on your device. But if you need to be sure which one is yours or you’re setting up a new device, here are the easiest ways to find it.
On Your Connected Devices (The Easy Way)
If you have a device that’s already connected to your Wi-Fi, finding the SSID takes about ten seconds.
On Windows 10/11:
Look at the taskbar in the bottom-right corner of your screen.
Click on the Wi-Fi icon (it looks like a series of curved lines) or the globe icon.
A list of networks will appear. The network you are currently connected to will be at the very top, marked as “Connected, secured.” That name is your SSID.
On macOS:
Look at the menu bar at the top-right of your screen.
Click on the Wi-Fi icon.
A dropdown menu will show nearby networks. A checkmark (✓) will be next to the network you’re currently connected to. That is your SSID.
On iOS (iPhone/iPad) and Android:
Open the Settings app.
Tap on Wi-Fi (or “Network & Internet” then “Wi-Fi” on some Android versions).
The network at the top of the list, usually with a checkmark next to it and the word “Connected,” is your current network. Its name is the SSID.
On Your Wi–Fi Router
If you can’t connect any devices or you’re setting up your network for the first time, the information you need is physically on your router.
Pick up your Wi-Fi router.
Look on the back or the bottom of the device.
You will find a sticker from the manufacturer. This sticker almost always contains the default SSID and the default password. It will also list other important information like the router’s IP address for logging in and the admin username/password.
This default SSID is often a combination of the manufacturer’s name and some random numbers or letters (e.g: “Netgear,” “Linksys – 12345,” or “SpectrumSetup – A9”).
3. How to Change Your SSID
Now that you know what your SSID is and how to find it, let’s talk about changing it. While you can certainly keep the default name, changing it is a simple but important step in securing your home network.
Why should you change your default SSID?
The default name given by the manufacturer acts like a billboard advertising the brand and, often, the model of your router. For example, an SSID of “Linksys – 12345” tells a potential attacker you’re using a Linksys router. They can then easily look up known vulnerabilities or default passwords associated with that specific brand, making your network an easier target.
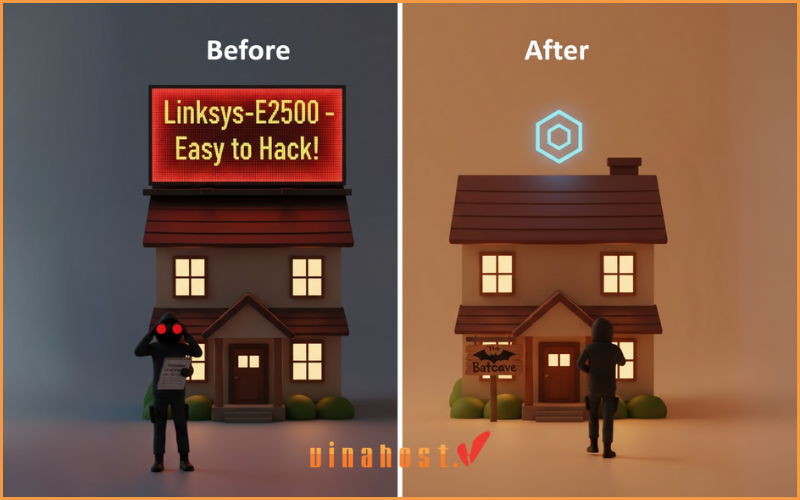
Changing your SSID to something generic and unique removes that billboard. It’s a form of security through obscurity – while not foolproof on its own, it’s a smart first layer of defense. Plus, it gives you a chance to personalize your network!
A Step-by-Step Guide to Changing Your SSID
Changing your network name requires you to log in to your router’s administrative settings. While every router’s interface looks a little different, the steps are fundamentally the same.
Connect to Your Router: For the most stable connection, it’s best to plug your computer directly into the router using an Ethernet cable. If that’s not possible, connect to its current Wi-Fi network.
Find Your Router’s IP Address: Open a web browser. In the address bar, you’ll need to type in your router’s IP address. The most common ones are 192.168.1.1, 192.168.0.1, or 10.0.0.1. If none of those work, check the sticker on your router.
Log In to the Admin Panel: You’ll be prompted for a username and password. Again, this information is on the sticker on your router. Common defaults are admin for the username and password or admin for the password.
Navigate to Wireless Settings: Once logged in, look for a section labeled “Wireless,” “Wi-Fi,” or “WLAN.” This is where all your Wi-Fi settings are managed.
Locate the SSID Field: Inside the wireless settings, you will see a text box labeled “SSID,” “Network Name,” or “Wireless Network Name.” This box will contain your current Wi-Fi name.
Enter Your New Name and Save: Type your desired new SSID into the box. After you’re done, find the “Save,” “Apply,” or “Save Settings” button and click it. Your router will restart, which may take a minute or two.
Once the router has rebooted, your old Wi-Fi network will disappear, and the new one will appear in your list of available networks. You will need to reconnect all of your devices (laptop, phone, smart TV) using the new SSID and your existing password.
4. The Security Myth: Should You Hide Your SSID?
You might find an option in your router’s settings to “Hide SSID,” “Disable SSID Broadcast,” or make your network “hidden.” The idea is that if your network name isn’t publicly broadcast, attackers won’t know it’s there.
The Reality: Hiding your SSID is not an effective security measure.
This practice is often recommended on older online forums, but modern security experts universally advise against relying on it. Here’s why it provides a false sense of security:
Your Network is Still Detectable: Even when the name isn’t broadcast, the radio signals from your Wi-Fi network are still there. Anyone with free, easily accessible network scanning tools can detect the traffic from your “hidden” network and often uncover its name in a matter of minutes.
It Can Create Connection Problems: Some devices, especially older ones, have trouble reliably connecting to hidden networks. It makes the connection process more complicated for you and your guests, as you must manually type in the SSID and password perfectly every time.
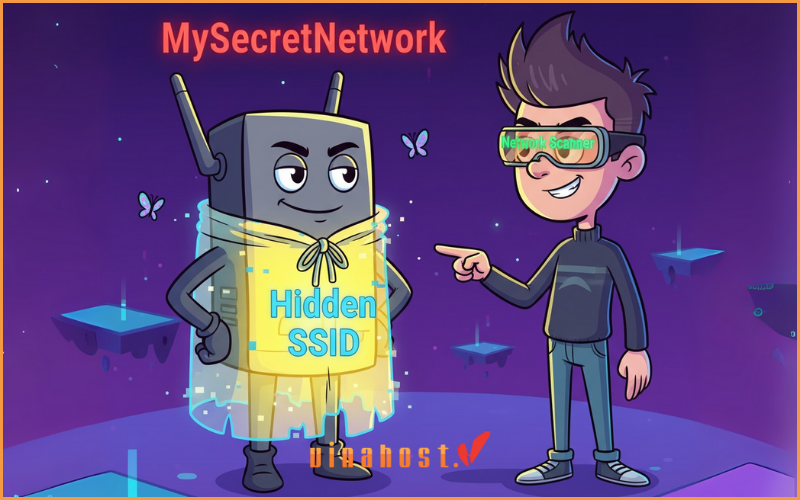
- The Verdict: Don’t waste your time hiding your SSID. It adds inconvenience without adding any meaningful security. Your energy is much better spent on security practices that actually work.
5. Real Wi-Fi Security: What Actually Matters
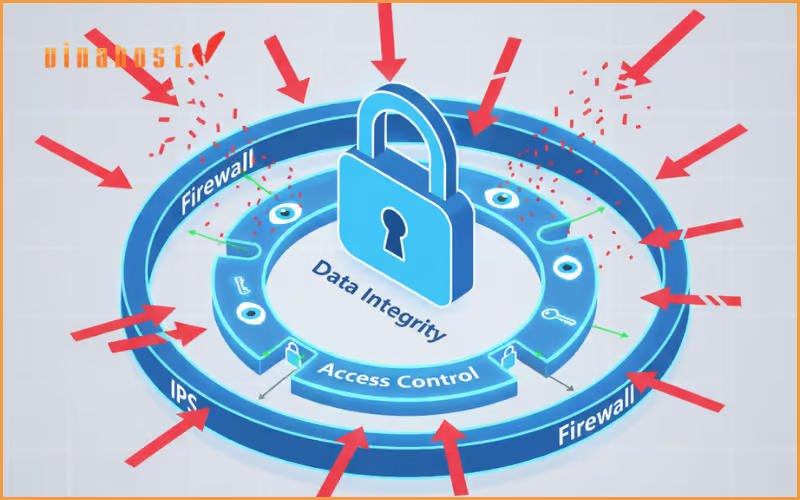
So if hiding the SSID is out, what should you do to secure your network? True Wi-Fi security comes from a few fundamental best practices.
Use Strong Encryption (WPA3 or WPA2): In your router’s wireless security settings, you’ll see options like WEP, WPA, WPA2, and WPA3. WEP and WPA are obsolete and easily cracked. Ensure your network is set to WPA2 at a minimum, or WPA3 if your router and devices support it, as it’s the latest and most secure standard.
Create a Strong, Unique Wi-Fi Password: This is the single most important step you can take. Your password is the key to your digital home. A weak password like “password123” can be cracked in seconds. A strong password should be long and include a mix of uppercase letters, lowercase letters, numbers, and symbols.
Change the Default Router Login: The username and password you used to log in to your router’s admin panel should be changed immediately. If you leave it as “admin/password,” anyone who connects to your network can take full control of it.
Keep Your Router’s Firmware Updated: Your router’s firmware is its internal software. Manufacturers regularly release updates to patch security vulnerabilities. Check your router’s admin panel for an “Update” or “Firmware” section and enable automatic updates if available.
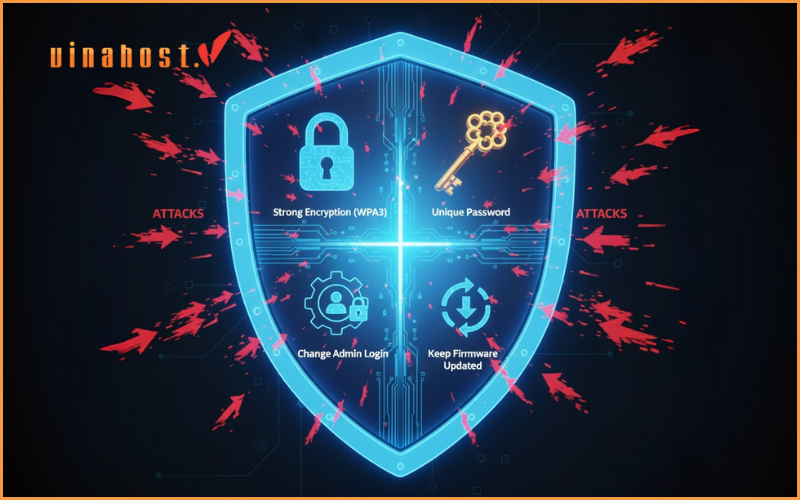
By focusing on these four steps, you’ll have a network that is vastly more secure than one that simply has a hidden name.
The above steps are the core foundation for securing your home or small office Wi-Fi network. However, for businesses, developers, or those running online applications and websites, the need for a private, secure, and high-performance network environment is extremely important. Instead of relying solely on the internal network, they often need dedicated server solutions. For example, using a powerful virtual server like VPS Laos will provide a stable infrastructure and fast access speed for users in this region. Similarly, a VPS Malaysia is an ideal choice for businesses to deploy services and effectively access the Southeast Asian market.
 Tiếng Việt
 English
 简体中文
简体中文


